Guide to Bike 3D Printing [Cost Calculator+Free 3D Model]

Explore the essentials of 3d printing a bike and estimate the printing cost of your model using Unionfab’s free online cost calculator.
Introduction
At the 2024 Paris Olympics Cycling events, while athletes were breaking records, 3D printing was revolutionizing bike design behind the scenes:
British Cycling’s Hope-Lotus track bike for Team GB, using Renishaw’s metal 3D-printed components, achieved lightweight design and aerodynamic optimization.
Toot Engineering’s X23 track bike for Argentina, made with Scalmalloy via 3D printing, offered precise customization tailored to each rider’s physique.
These examples highlight 3D printing’s advantages in high-performance bike manufacturing and customization, but its potential extends further. For everyday cyclists, 3D printing can also help enhance and enrich their riding experience.
This guide introduces the world of bike 3D printing, covering material selection, printer recommendations, and model design. We also provide a cost calculator and free 3D model to help you get started quickly.
Core Components of A Bike and Their 3D Printing Suitability
Before 3D printing a bike, it’s important to understand its basic components. While there are many types of bicycles—such as road bikes, mountain bikes, and BMX bikes etc.,—they all share a common set of core parts.
The table below organizes these essential components and indicates whether each is suitable for 3D printing, along with the reasons why.
System | Component | Industrial 3D Printing? | DIY 3D Printing? | Notes |
|---|---|---|---|---|
Frame System | Main Frame | Yes | No (too complex) | Metal 3D printing (e.g., SLM); not feasible for DIY due to complexity and load. |
Rear Triangle | Yes | No (high stress) | Similar to main frame; high stress limits DIY printing. | |
Bottom Bracket Shell | No | No | Requires precision machining; 3D printing can't match tolerances. | |
Steering System | Fork | No | No | High safety risk; not viable for 3D printing. |
Handlebar | Yes | Partially (grips only) | Grips printable; bar itself not suitable due to safety. | |
Stem | Yes | No | Custom stems viable with titanium or aluminum printing. | |
Headset | No | No | Bearings require very tight tolerances and strength. | |
Wheel System | Rim | No | No | High-speed, high-impact use not compatible with 3D-printed materials. |
Tire | No | No | Current 3D printing cannot replicate rubber compounds. | |
Spokes | No | No | High-tension component not printable with sufficient strength. | |
Hub | No | No | Needs precision bearing seats; machining required. | |
Quick Release / Thru-Axle | Yes | No | Can be custom metal printed; DIY not strong enough. | |
Drivetrain | Chainring | Yes | Yes (prototype use) | Reinforced nylon or carbon-filled PLA usable for concept parts. |
Crankset | No | No | Torque and fatigue limits exceed printable strength. | |
Pedals | Partially (non-load areas) | Partially (non-load areas) | Pedal platforms/cages printable; core needs metal. | |
Chain | No | No | Requires flexible metal links not 3D printable. | |
Cassette / Sprocket | No | No | Needs high-wear materials and precision. | |
Braking System | Caliper | No | No | High-force, safety-critical; 3D printing too risky. |
Brake Pads | No | No | Specialized friction materials not printable. | |
Brake Levers | Yes | Yes | Low-load part; easy to customize with plastics. | |
Brake Cables / Hoses | No | No | Flexible, pressure-resistant tubing cannot be printed. | |
Seating System | Saddle | Yes | Partially (shell only) | Industrial methods can produce full saddle; DIY limited to shell or padding. |
Seatpost | Yes | No | Printable in metal; DIY lacks fatigue resistance. | |
Seat Clamp | Yes | Yes | Low-load part; common in FDM printing projects. |
Takeaways:
Industrial 3D printing is broadly applicable but still limited to specific components
Frame System: Main frame, rear triangle
Steering System: Stem, handlebar
Wheel System: Quick release / thru-axle
Drivetrain: Chainring
Braking System: Brake levers
Seating System: Saddle, seatpost, seat clamp
DIY printing is mostly limited to non-structural, low-stress components
Steering System: Handlebar(grips only)
Drivetrain: Chainring (for prototyping only)
Braking System: Brake levers
Seating System: Saddle (shell), seat clamp
Recommended approach
For a fully functional and structurally safe bike, use 3D printing for outer shells, interface parts, and custom-fit elements.
For design exploration or display prototypes, industrial 3D printing can be used more freely for experimentation.
How to Choose the Materials and Technologies for Bike 3D Printing
Before selecting materials and technologies, clarify your goal:
Functional and Structurally Safe Bike: Focus on mechanical strength, durability, and safety.
Design Exploration or Display Prototypes: Prioritize appearance, flexibility in iteration, and cost-effectiveness.
For Functional and Structurally Safe Bike
If you want your 3D-printed bike parts to be durable for long-term use, we recommend outsourcing to a reliable service provider. Only high-end industrial equipment can produce parts strong enough for extended performance. Below is a guide to suitable materials and technologies for different 3D-printed bike components.
System | Component | Recommended Material | Printing Technology | Reason |
|---|---|---|---|---|
Frame System | Main frame | Scalmalloy / Titanium (Ti6Al4V) | SLM | High strength, lightweight; suitable for racing and high-impact loads. |
Rear triangle | Aluminum (AlSi10Mg) | SLM | Lightweight with sufficient strength; common in structural parts. | |
Steering System | Stem | Titanium (Ti6Al4V) | SLM | Excellent fatigue resistance and precision; ideal for load-bearing joints. |
Handlebar (grips only) | TPU / Flexible Nylon | SLS | Comfortable, grippy, and shock-absorbing; only for grip area. | |
Wheel System | Quick release / axle | Stainless Steel / Titanium | SLM | Small, high-tension part; strong and customizable in metal. |
Drivetrain | Chainring | Carbon Fiber-Reinforced Nylon | SLS / MJF | Suitable for non-core drive parts; strong yet lightweight. |
Braking System | Brake levers | Nylon PA12 / CF-Nylon | MJF / SLS | Low-load but high-use part; needs durability and precision. |
Seating System | Saddle (shell + padding) | Nylon PA12 + TPU (for padding) | MJF / SLS | Rigid outer shell and soft ergonomic padding; dual-material design. |
Seatpost | Aluminum / Titanium | SLM | Must withstand rider weight; metal printing ensures structural safety. | |
Seat clamp | Aluminum / CF-Nylon | SLM / SLS | Low-load but needs stiffness; material choice depends on precision needs. |
If you are still unsure which material to choose, you can refer to our two previous article: Titanium-vs-Aluminum and Titanium-vs-Stainless-Steel.
If unsure which tech to choose, you can refer to our previous article: sls-vs-mjf and slm-3d-printing
Or, simply contact 3d printing experts from Unionfab to help you make final choices.

Design Exploration or Display Prototypes
If you’re 3D printing a bike for display prototypes or design exploration, material performance isn’t your top concern—instead, you’ll want a more cost-effective option.
Component | Recommended Material | Printing Technology | Reason |
|---|---|---|---|
Main frame | PLA / PETG / CF-PLA | FDM | Easy to print; good for visualizing geometry and experimenting with design. |
Rear triangle | PLA / PETG | FDM | Non-functional mockup; sufficient for aesthetics and fit testing. |
Stem | PLA / CF-PLA | FDM | Allows shape iteration; not safe for actual riding. |
Handlebar (grips) | TPU | FDM | Soft, flexible grip prototypes; good for testing ergonomics. |
Quick release / axle | PLA / PETG | FDM | Good for dimensional testing or modeling purposes only. |
Chainring | PLA / CF-PLA | FDM | Great for visual or concept demonstration; not for functional use. |
Brake levers | PLA / Nylon | FDM / SLS | Suitable for mockups and handling testing. |
Saddle (shell + padding) | PLA (shell) + TPU (padding) | FDM | Allows comfort and shape exploration without performance demands. |
Seatpost | PLA / PETG | FDM | Can be printed as a solid mock part for display or fit. |
Seat clamp | PLA / PETG | FDM | Easy to prototype; enough for fit and mounting demos. |
It’s worth noting that desktop FDM printers have size limitations—especially for large parts like the main frame. In such cases, using a large-format FDM printer is recommended, so you’ll need to turn to a professional 3D printing service.
Unionfab offers FDM printing up to 1000 × 610 × 610 mm with seamless one-piece printing. Feel free to contact us if you need support.

How to 3D Print A Bike?
After specifying what parts to 3d print and the materials and technologies used, it’s time to get down to 3d print it. Here are the steps.
Step 1. Get A 3D Model
Before you can 3D print a bike—whether you’re doing it yourself or outsourcing it—there’s one essential thing you need: a 3D model. This is the digital blueprint your printer (or printing service) will follow. There are several ways to obtain one, depending on your skills, budget, and project goals:
Use a Free or Paid Model
The easiest and fastest option is downloading an existing model. Many online platforms offer free or paid 3D printable bike parts and assemblies. Some popular sites include:
3D Model Source | Description |
|---|---|
Thingiverse | Open-source models, mostly DIY-friendly. |
Printables | Curated by Prusa, high-quality printable files. |
Cults3D | Includes free and premium designs, often professionally made. |
TurboSquid or CGTrader | Great for display prototypes and high-detail CAD assets (not always optimized for printing). |
MyMiniFactory | High-resolution models, often optimized for FDM/SLA printing. |
MakerWorld | Curated by Bambu Lab, offering high-quality, printer-optimized models. Great for Bambu users. |
STLfinder | A search engine that finds 3D models from various platforms. Useful for broad searches. |
Zortrax library | Official model library for Zortrax printers. Focused on professional and industrial use. |
Design It Yourself
If you have 3D modeling experience, you can design the bike or components yourself. This allows for full customization and precision—especially useful for sizing the frame to fit your body or integrating personalized features.
Bike Model Design Tips:
To achieve better 3D printing quality for your parts, there are key design tips you should follow during the 3D modeling process.
Leave Proper Tolerances: Leave 0.2–0.5mm gap for assembly parts.
Reinforce Load Areas: Strengthen load-bearing sections to avoid thin walls.
Use Smooth Transitions: Use fillets or chamfers instead of sharp angles.
Design for Minimal Supports: Keep overhangs below 45° to reduce supports.
Ensure Watertight Geometry: Ensure the model is sealed with no gaps for better slicing and print success.
Hire a Designer for a Custom Model
If you don’t have CAD experience or want a professionally optimized design, consider hiring a freelance designer. Platforms like: Fiverr; Upwork; CadCrowd; Freelancer etc.
Step 2. Print Your Model
Self-printing
Self-printing is a great option if you have access to a 3D printer and some experience with 3D printing. If you do not have a 3d printer but still want to have a go, it’s time for you to buy a desktop printer.
As for how to choose, we recommend a desktop 3d printer purchasing guide by All3dp to help you make a decision: Best 3D Printers of 2025: Top Picks in 26 Categories.
Also, if you run into issues during self-printing, you can reach out to like-minded people for help. For example, ask questions on subreddits or forums dedicated to 3D-printed bikes—like the r/3Dprinting or r/bicycling communities.
Outsourcing
If you don’t have access to a 3D printer or prefer a more hands-off approach, outsourcing your bike parts to a professional 3D printing service is a simpler, smarter and more reliable option.
Here are two key tips to help you get the best outcome:
Check providers’ previous successful cases: Review their portfolio or ask for past case studies to verify their experience with similar projects and ensure printing quality.
Request a sample or dimensional report: If your parts require high dimensional accuracy, ask the provider to offer a sample print or a dimensional inspection report to confirm their quality control standards.
Start small: Begin with a simple part or a test print to evaluate the provider’s quality and service before committing to a full bike or larger parts.
Step 3: Assembly and Testing
Once your 3D-printed parts are ready and combined with other purchased components, you can begin assembly. If your goal is to use the bike long-term, testing is essential to ensure it functions properly and safely.
Start with a static test: apply force manually to check for weak spots or loose connections.
Then perform a low-speed ride in a safe area. Listen for any unusual noises or flexing.
Gradually increase riding stress while monitoring structural integrity.
How much will it cost to 3d print a bike?
Once you’ve finalized your 3D model, chosen the right material, and selected a printing technology, you can get a fairly accurate idea of how much it will cost to print your bike.
Most 3D printing service providers calculate pricing via the following formula:
Total Printing Cost = Material Unit Price × Material Volume
Please note: the formula above only accounts for printing costs. In most cases, the total order cost may also include post-processing fees, shipping, taxes, and packaging fees.
For a more detailed breakdown, check out our previous article: How much does it cost to 3d print something?
If you already have a 3D model ready, you can also try our cost calculator to quickly estimate your project’s total printing cost.

3D-printable Bike Accessories
In addition to the essential components, you can equip your bike with accessories to boost functionality or add a personal touch. Here are some popular bike accessories that are easy to 3D print.
Accessory | Description | Material Recommendation | Free Model Examples |
|---|---|---|---|
Bottle Cage | Holds a water bottle on the bike frame. | PETG, PLA+ | 
|
Phone Mount | Mounts your phone to the handlebar for navigation or tracking. | PLA, ABS | 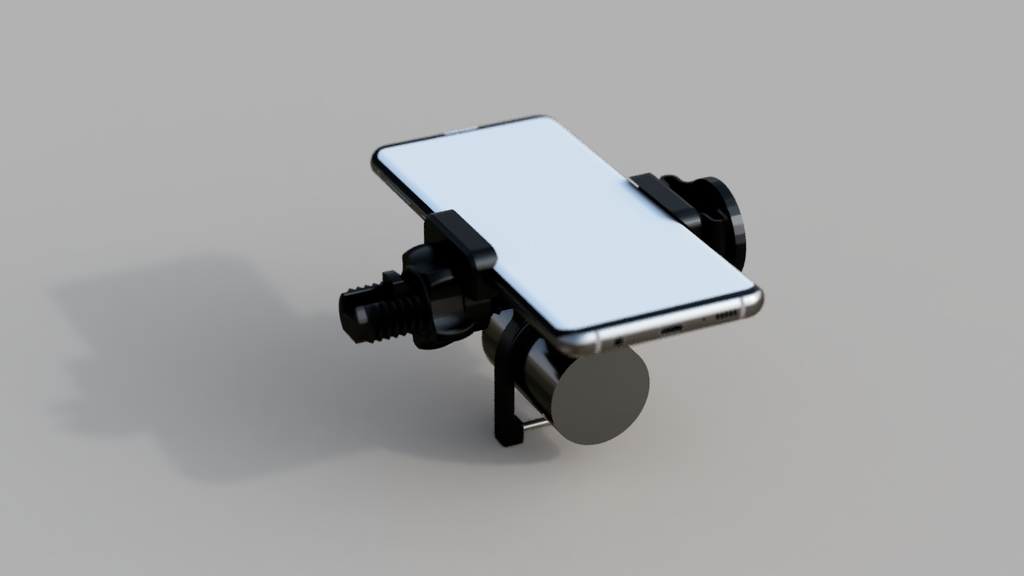 |
Light Mount | Holds front or rear lights securely. | PLA, PETG | 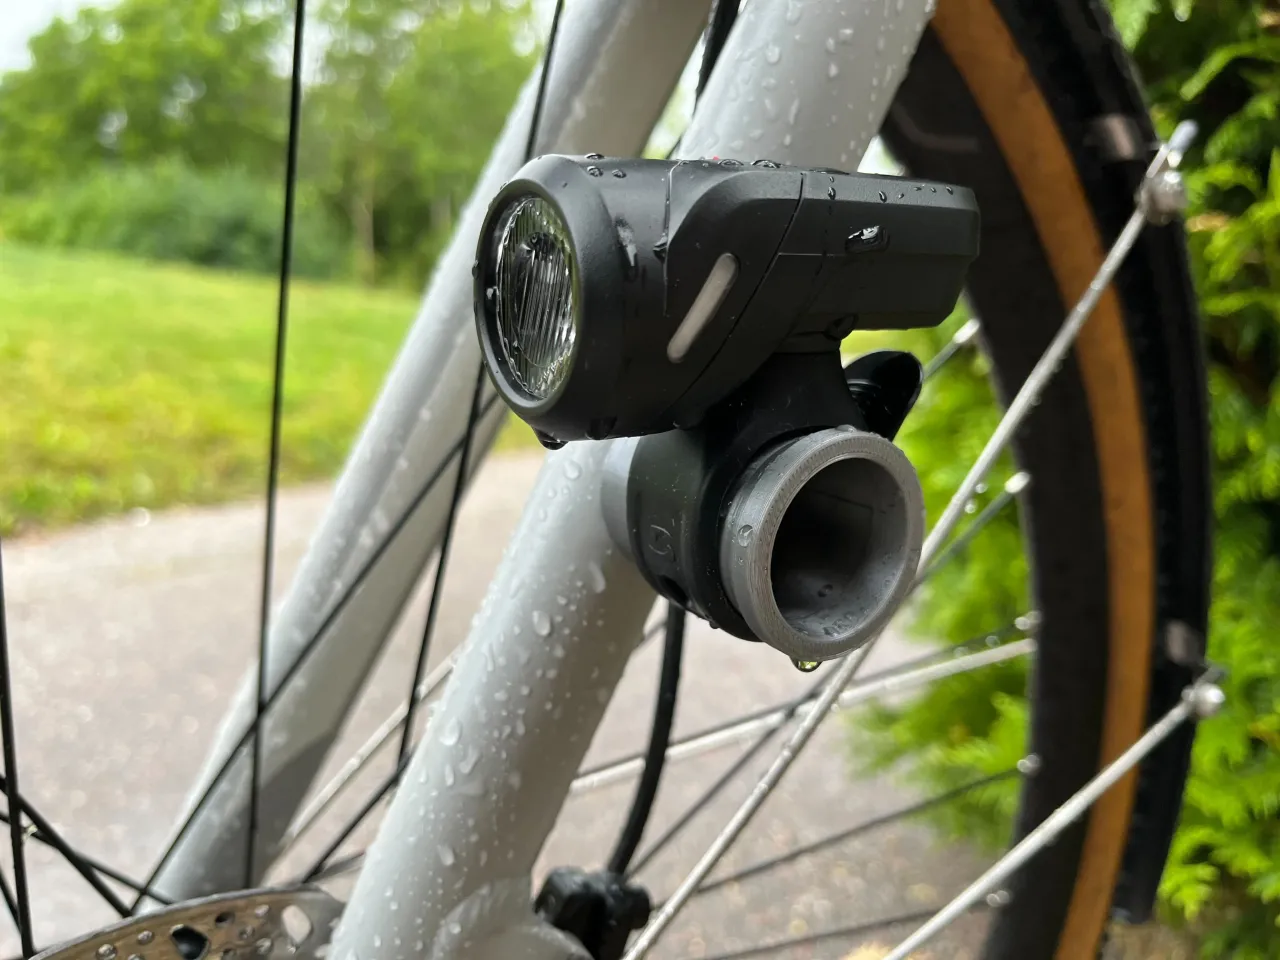 |
Reflector Clip | Attaches reflectors to spokes or frame. | PLA | 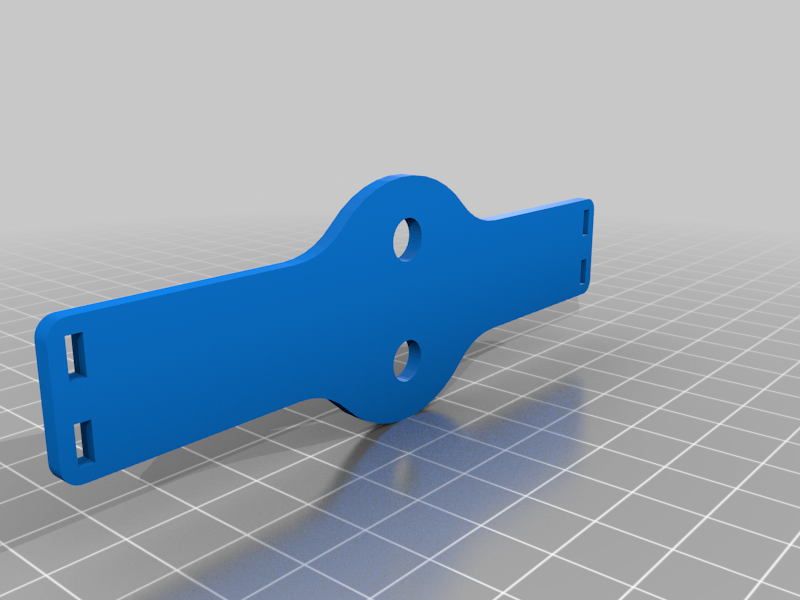 |
Fender / Mudguard | Protects rider from mud or water splashes. | ABS, flexible TPU | 
|
Saddle Bag Bracket | Mounting support for under-seat bags. | PETG, Nylon |  |
GoPro Mount | Allows for action camera mounting on handlebar or helmet. | PLA+, ABS | 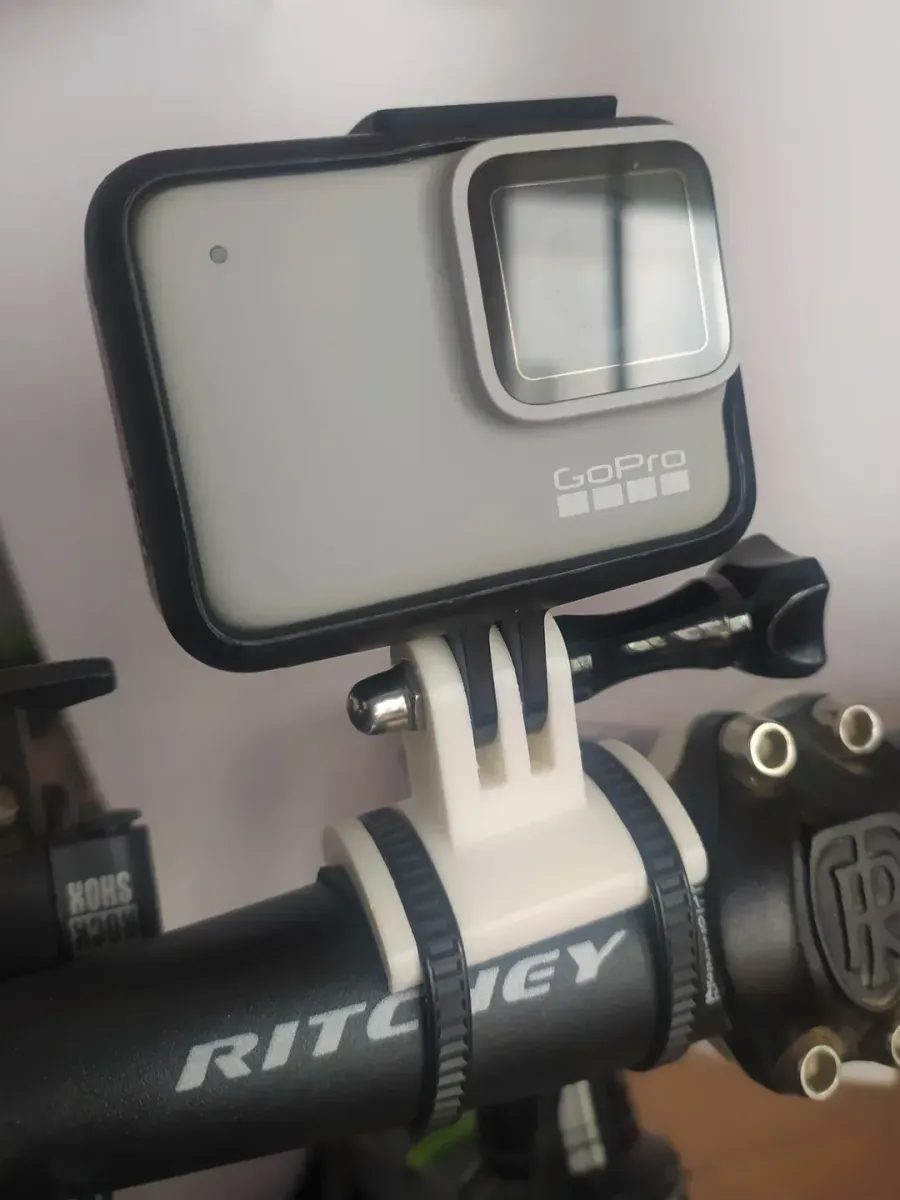 |
Pannier Rack | Support structure mounted to a bicycle to to carry pannier bags | PETG, ABS | 
|
Bike Helmet | External shell or padding prototype (not full safety helmet). | PLA (for prototype only) | 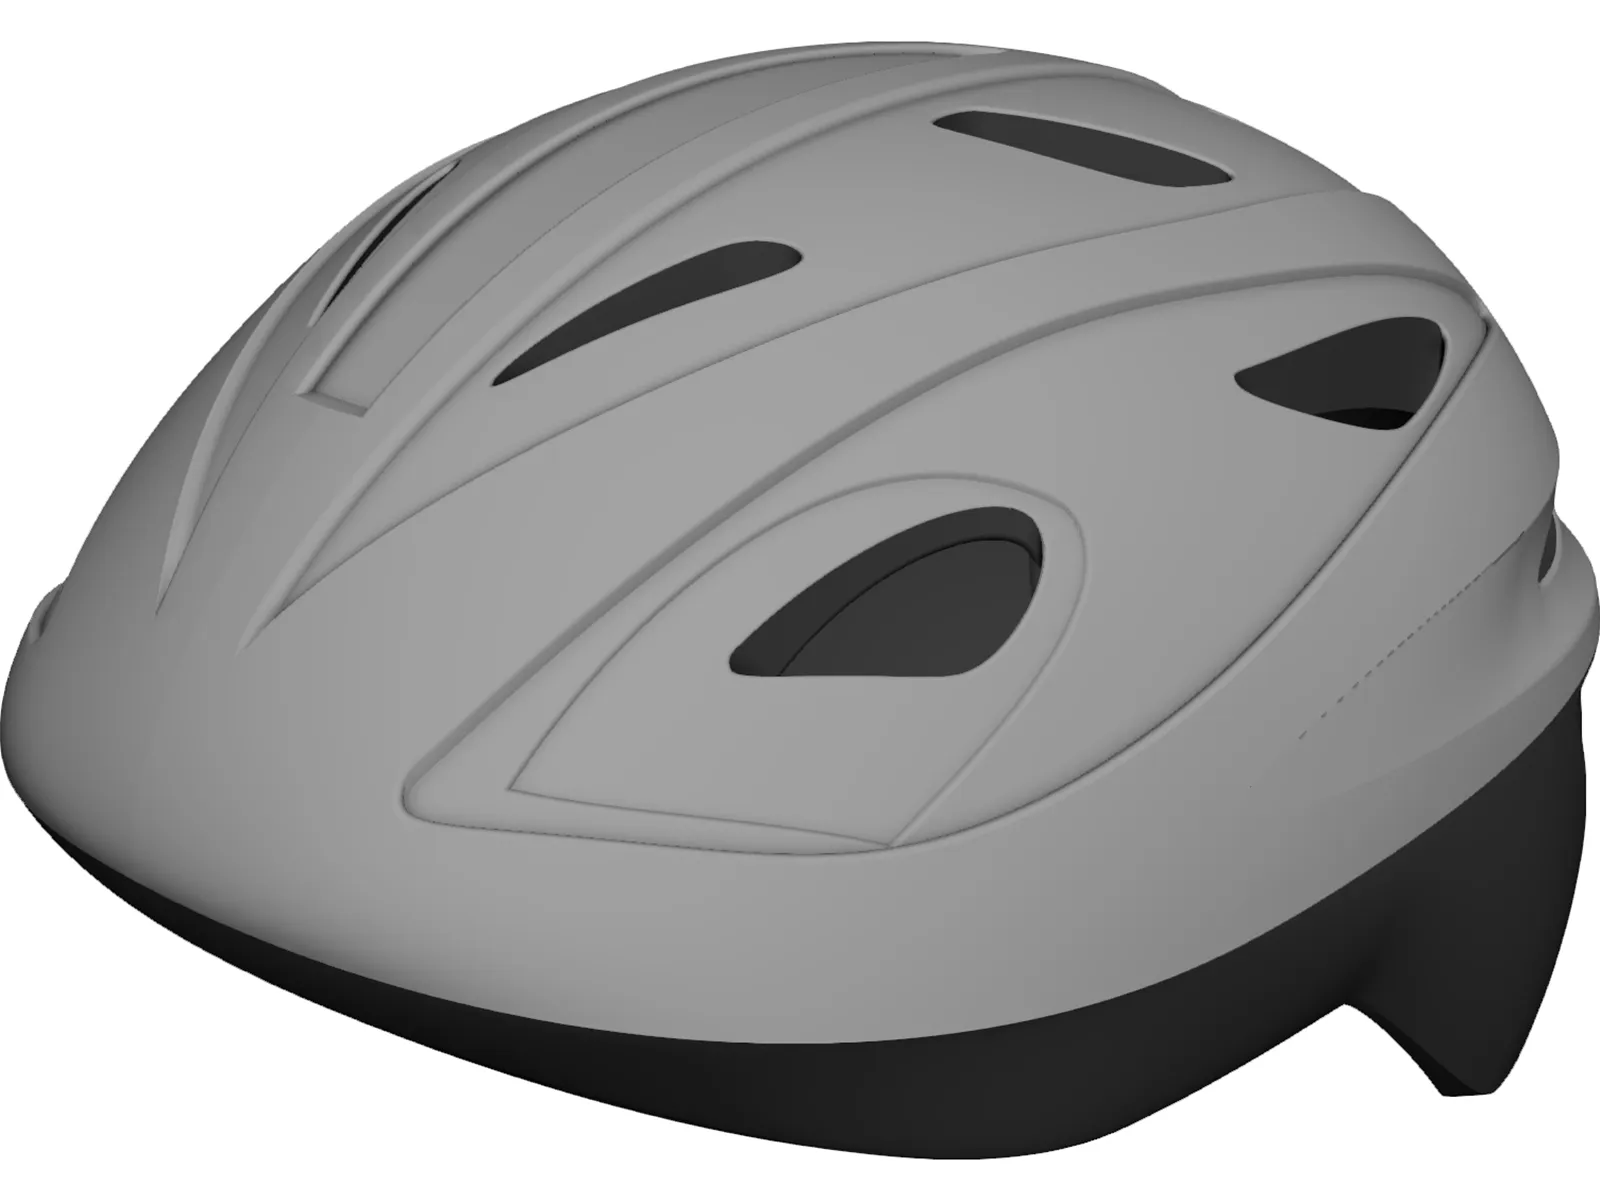 |
Bike Stand | Keeps the bike upright when parked. | PLA, PETG, or composite filament | 
|
Partner with Unionfab for Precision 3D Printing of Your Custom Bike
Unionfab, the overseas branch of Uniontech, which holds 60% of China's 3d printing market share, is the largest 3D printing manufacturer in China, specializing in rapid prototyping and on-demand production.
With 20+ years of expertise, 1,000+ industrial 3D printers, and 6 cutting-edge factories, Unionfab, certified with ISO 9001, ISO 13485, and AS 9001D, is committed to delivering high-quality, cost-effective 3D printing services.
We offer 80+ materials and advanced technologies such as SLA, SLM, SLS, MJF, FDM, DLP, and PolyJet, all at prices up to 70% lower than competitors.
In addition, we offer CNC machining, vacuum casting, injection molding and finishing services, providing a comprehensive, one-stop solution for all your manufacturing needs.