How to Paint Resin 3D Prints [+ Step-by-Step Guide & Pro Tips]
![How to Paint Resin 3D Prints [+ Step-by-Step Guide & Pro Tips]](https://ufc-dtc-cms.oss-accelerate.aliyuncs.com/blog/20250117/205222_8yjobvdur.png)
Learn how to paint resin 3D prints with this detailed guide. From surface preparation to finishing touches, discover pro tips for stunning results!
Introduction
Resin 3D printing allows for the creation of high-detail models, but painting these prints can elevate their aesthetic appeal and make them truly stand out. While painting resin 3D prints might seem daunting, this guide will simplify the process, even for beginners, and give you the knowledge to achieve professional results.
In this article, we'll walk you through the essential steps and tips for painting resin models, ensuring your prints look polished and durable.
Common Challenges & Pain Points
Painting resin models presents a few challenges, which can hinder the final appearance if not addressed properly. Here are the most common issues you may encounter:
Smooth Surface with Poor Paint Adhesion: Resin prints often have a glossy surface that makes it hard for paint to stick.
Complicated Surface Prep: Proper surface preparation can be tedious, and failing to do so can result in loss of fine details.
Choosing the Wrong Paint or Tools: Using incompatible paint or tools can lead to unsatisfactory results, like uneven coating or peeling.
Step-by-Step Guide to Painting Resin 3D Prints
A. Preparation Work
Cleaning & Degreasing: Before starting, it's essential to clean the print. Use warm water and a mild detergent to wash away any residual resin or oils left over from the printing process. This step ensures that the surface is free from contamination, allowing paint to adhere properly.
Sanding the Surface: Resin prints often have a smooth, glossy finish, which can make it difficult for paint to adhere. Lightly sand the surface with 400 to 800-grit sandpaper to improve adhesion without compromising the fine details of your print. Make sure to sand evenly, focusing on areas where the paint needs extra grip.
Priming: Once the model is clean and sanded, it's time to apply a primer. Choose a primer specifically designed for resin prints. A light, even coat will create an ideal surface for painting while also helping the paint bond better. Avoid heavy layers, as they can obscure fine details.
Tools Required:
Gloves and a mask
Sandpaper (400-800 grit)
Primer designed for resin
Cleaning solution
B. Painting the Model

Choosing the Right Paint: When painting resin 3D prints, acrylic paints are generally the best choice. These paints are easy to work with, dry quickly, and offer excellent color payoff. If you're looking for extra durability, consider using paints designed specifically for plastic surfaces.
Layering the Colors: Start with a base coat to cover the entire model. Choose a neutral or lighter color, depending on your design. Once the base layer is dry, you can add additional layers for detail, shadows, and highlights. Use thin coats to avoid drips or streaks. Build up the colors gradually for a smooth, even finish.
Detailing: Once the main colors are applied, you can add finer details using a brush or airbrush. Add subtle shading and highlights to create depth. Be patient and apply thin layers to achieve a realistic effect.
Recommended Tools:
Fine brushes for details
Airbrush or spray cans for smoother application
Acrylic paints (for resin)
C. Surface Protection & Finishing
Applying a Clear Coat: After painting, protect your work by applying a clear coat. This will lock in the colors and provide an extra layer of protection. You can choose between a matte, satin, or glossy finish, depending on the look you want to achieve. A clear coat also enhances the visual depth of your model.
Drying & Curing: Allow your painted model to dry in a low-humidity environment to prevent cracking or uneven drying. Patience is key at this stage to ensure a flawless finish.
Discover Unionfab’s painting service. Whether it's for aesthetic appeal, durability, or protection, our painting solutions provide the perfect finish for your 3D printed and CNC machined parts.
Check out our Step-by-Step Guide to learn how to add painting to your quote, or contact us for specific requirements!

Pro Tips for a Professional Finish
Use masking tape to cover areas you don’t want to paint, such as specific details or parts that should remain untouched.
Use toothpicks to hold small parts in place while painting for better control.
Avoid thick layers: Apply multiple thin layers instead of one thick one to prevent paint from running or dripping.
Case Studies
Real Automotive Case in Unionfab
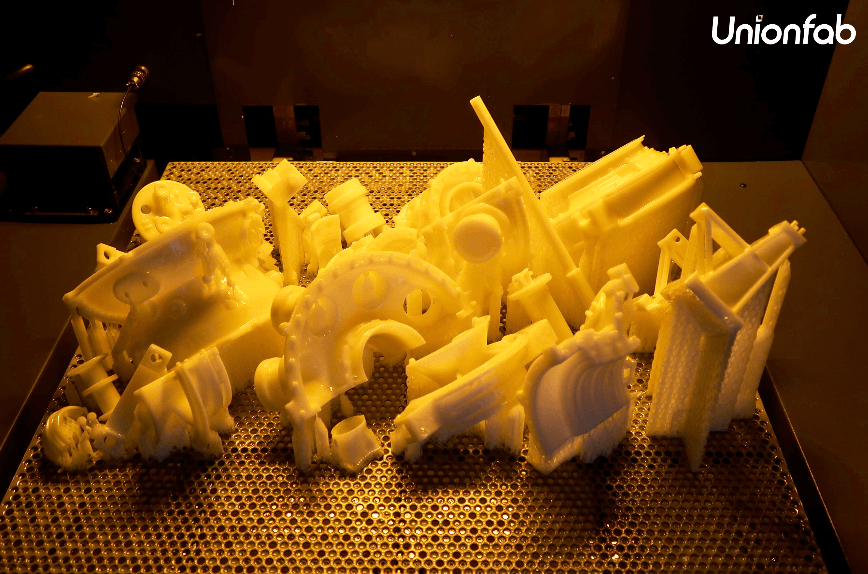
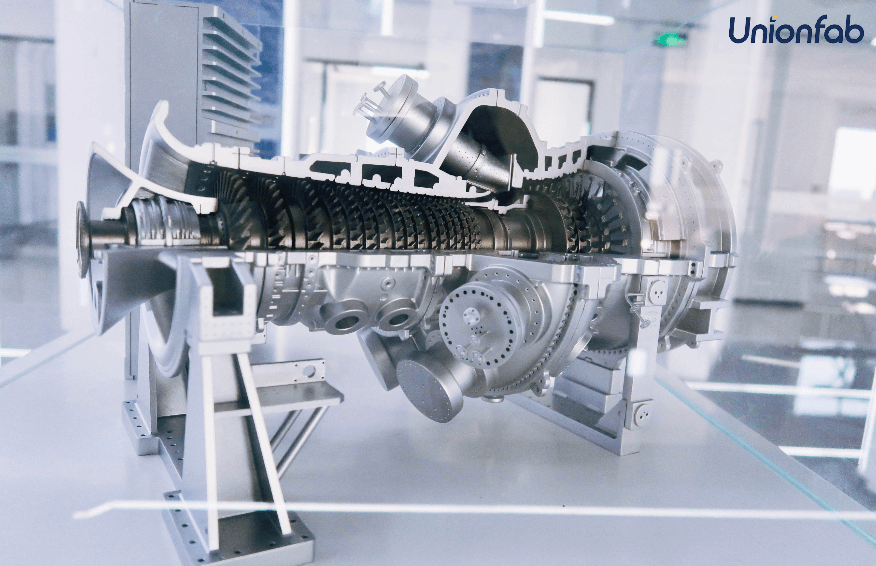
Custom Engine Model: Using SLA resin printing, we created a detailed engine model. After applying an automotive-grade paint finish, the model became not only a tool for design validation but also a showpiece for presentations and trade exhibitions.
Lightweight Automotive Parts: Unionfab's SLA resin prints are ideal for creating lightweight automotive components, such as custom engine parts or complex undercarriage models. With precise paint detailing, these parts are both visually striking and functionally durable.


Conclusion
Painting resin 3D prints may seem complex, but with the right techniques and tools, it can be a rewarding experience. By following the steps outlined above, you can achieve a professional finish that enhances both the appearance and durability of your 3D printed models.
Get Professional Finishing with Unionfab
Consult with Our Experts: Reach out today for personalized advice and professional guidance on the best finishing techniques for your 3D models.
Request a Custom Solution: Unsure about which service is right for your model? Contact us for a tailored consultation and get a solution that fits your needs perfectly.

